Dropped round to Rich's this afternoon with a pack of biccies and 750 points of commandos for a couple of, what turned out to be highly entertaining, games of Bolt Action......action!
Feeling a bit D-Day we played Point Defence through a couple of times taking turns as defender.
List for the day was as follows;
2nd Lt Ponsonby-Smyth
RN Petty Officer Polyp (FO)
Cpl Spatchcock (Medic)
A Section - 9 Geezers (Vickers K / 2 SMG / 6 Rifle)
B Section - 9 Geezers (Vickers K / 2 SMG / 6 Rifle)
D Section - 7 Geezers (5 SMG / 2 Rifle / AT Grenades)
Medium Mortar / Sniper / PIAT
The first game saw quite rightly saw the Commados attacking off of the beach and drive inland. Looking at the table I decided early on to go for the centre and right flank. Everyone but D Section, who flanked to the right, were in the first wave and were to "hop" up the ruins, lay down fire and then make the assault.
Rich had a very small veteran force with a Panzer IV, Hanomag, 1st Lt, two five man squads of Stg44s, a flamethrower, medium mortar sniper and medic. Early doors this didn't give me too much to shoot at. Polyp plastered the centre as the lads pushed up into position while D Section got into position.
Once Rich turned up he sniped off the PIAT and the mortar spotter to leave me to weather his armoured counter-attack and wonder if I shouldn't have hit the right with Polyp and flanked left with D Section. Staying with the plan everyone broke cover as D Section arrived and went all "Geezer". Thankfully the mortar had redeployed and pulled off a stunning shot to smoke the Hanomag.
The Flamm-Mann however managed a decent one-man counter attack wiping out D Section before eventually biting a bullet while A Section moved up and stormed the bridge under the nose of the Pz IV. At the end of turn 6 everything looked touch and go, though it later transpired that I'd grabbed the win with two objectives.
As such I was rather pleased when we rolled up turn 7, until Rich wiped A and D Sections. Ponsonby-Smyth took the right flank only to catch an 80mm mortar round while Spatchcock couldn't quite hold the bridge all on his lonesome. Thankfully B Section were just about on hand to claim the right flank for a very bloody draw and the best game of BA either of us have played to date! :)
 |
| Advancing off the beach...... |
 |
| ....into the newly ruined French hamlet! |
 |
| Up and at 'em! |
 |
| A bridge too far? |
 |
| Go, go, go... |
 |
| Cpl Spatchcock RIP |
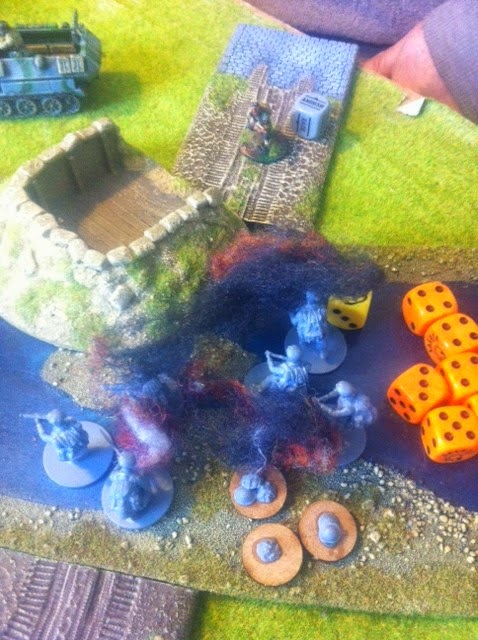 |
| D Section a la flambe |
 |
| Ponsonby-Smyth. Now you see him..... |
 |
| .....now you don't! B Section look on! |
For the return fixture Rich went all SS Uber-Commando and went for the Blitzkreig advance with everything going over the central bridge. Polyp once again proved to be worth far more than his zero points as he plastered the bridge, destroying the Hanomag and liberally sprinkling Pins all over the place (seriously he's unstoppable, I'd take two but I'd hate myself!).
In honesty Rich never recovered as I'd moved up into the ruined hamlet and poured fire into anything that managed to move off of it. The PIAT once again got a lot of attention and eventually fell to the 80mm at which point the PzIV ran around with impunity. I tried assaulting with AT grenades only to find out it's really an option of last resort.
At the last Rich ran his Sniper, Cpl Spearz, at my left flank in a final attempt to grab an objective for the draw. It was a desperate race as pretty much everyone chase after him including Cpl Spatchcock who'd been garnering himself something of a bloodthirsty reputation thanks to his Sten and Spatchet knife combo. D Section finally brought him down to take the win.
 |
| Polyp hits the bridge... |
 |
| ....and the boys pour it on! |
 |
| Panzer-assault..... |
 |
| ....re-models Cafe Rouge! |
 |
| Run Spearz.....RUN!! |
 |
| Spearz bites the bulletz! |
No comments:
Post a Comment